Dashboard
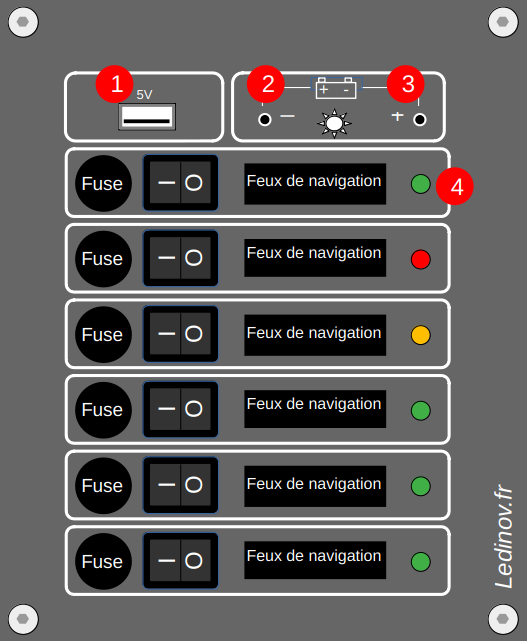
1 : USB port only 5V
- To charge a device
- To power the dashboard outside of 12V
2 e t 3 : LED brightness adjustment buttons
- Press and hold button 2 for 2 seconds; the buttons adjust the brightness of the dashboard LEDs.
- The same applies to button 3 for adjusting the synoptic display, if present.
- Press and hold button 2 pendant 10 secondes, forces the web dashboard to reload.
- Press and hold button 3 10 secondes, displays the web configuration codes for the dashboard.
- If no buttons are pressed for more than 10 seconds, the system returns to normal position.
- Pressing and holding buttons 2 and 3 together displays the battery voltage and current consumption on the dashboard.
- Having just one switch in the ON position allows you to see the power consumption of the equipment that is powered.
- useful for calibrating fuses.
4 : LED indicator light for device powered on.
- Its color is the one chosen in the dashboard configuration.
- If a fuse is blown or missing, it flashes red (regardless of the switch position).
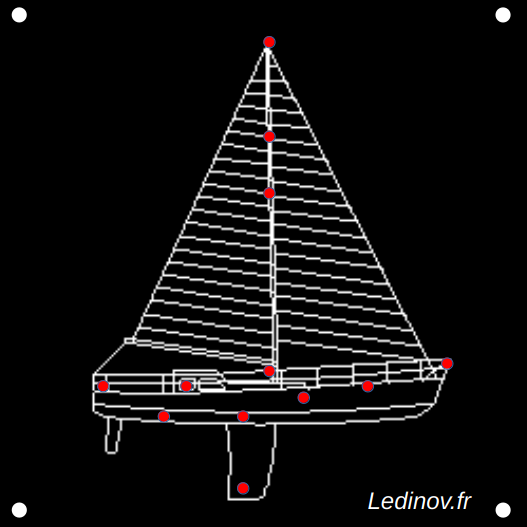
Synoptic
Synoptic comes with a manual in which each LED is numbered.
This is the number that must be entered on the dashboard configuration page.